Studio
-
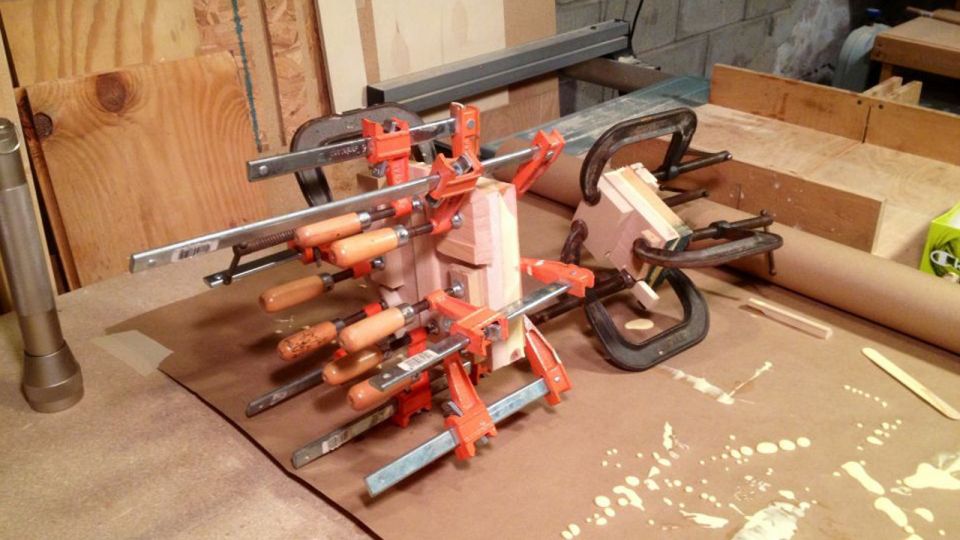
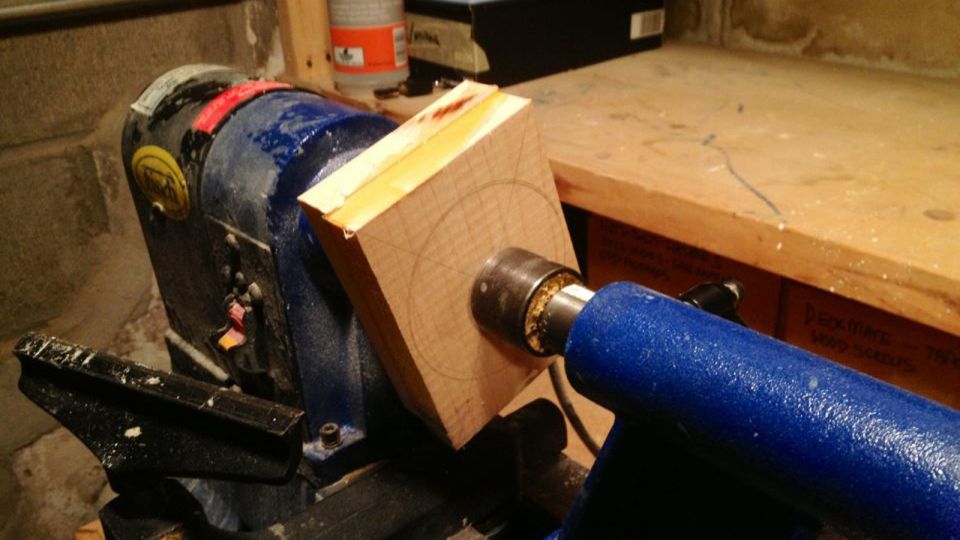
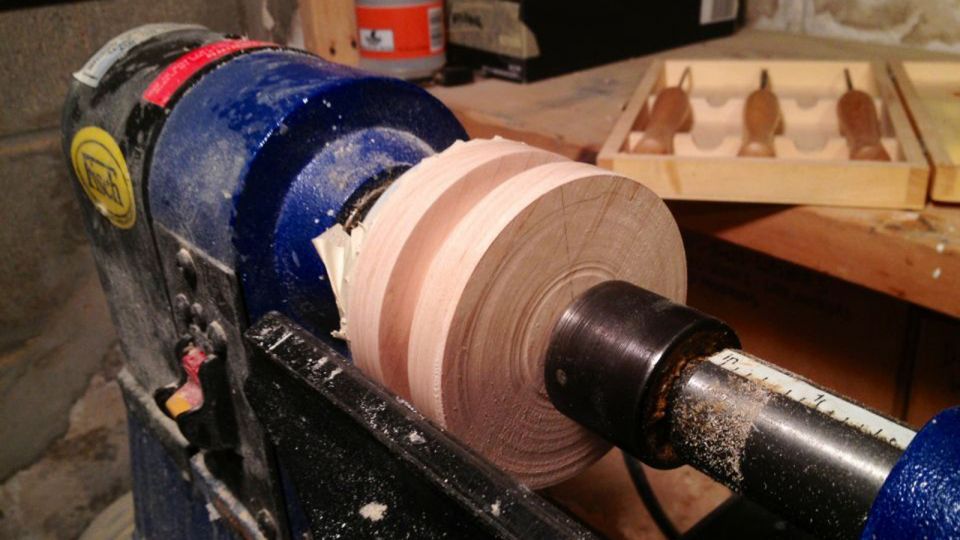
Making Interactive Parts


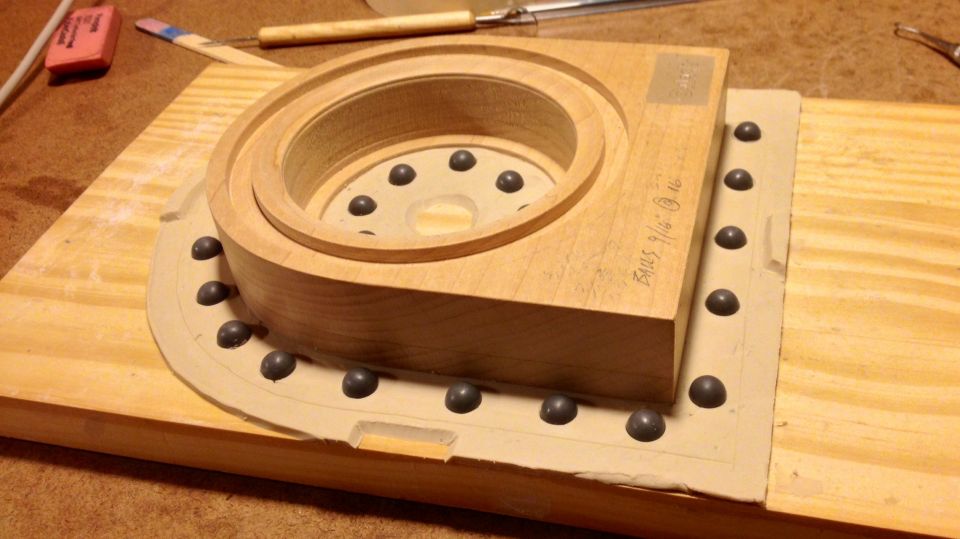
Making bearing patterns to be cast in polyurethane from silicone negatives.
I've had it with my improvised approach to interactive sculpture. I am wanting to get back into doing some work with deliberately interactive features. This process requires more engineering. As of right now, I am developing a way to cast roller bearings and gears on an as-needed basis. Doing this will make for more fluid motion and better mechanics upon interaction with any given piece. The point behind designing interactive elements, to this extent, has to do with the fact that I want my audience to experience an overall sense of fluidity. Art should connect people, which is why I pursue interactive sculpture. The viewer becomes a participant in a "performance" where they become aware of their actions' outcomes.
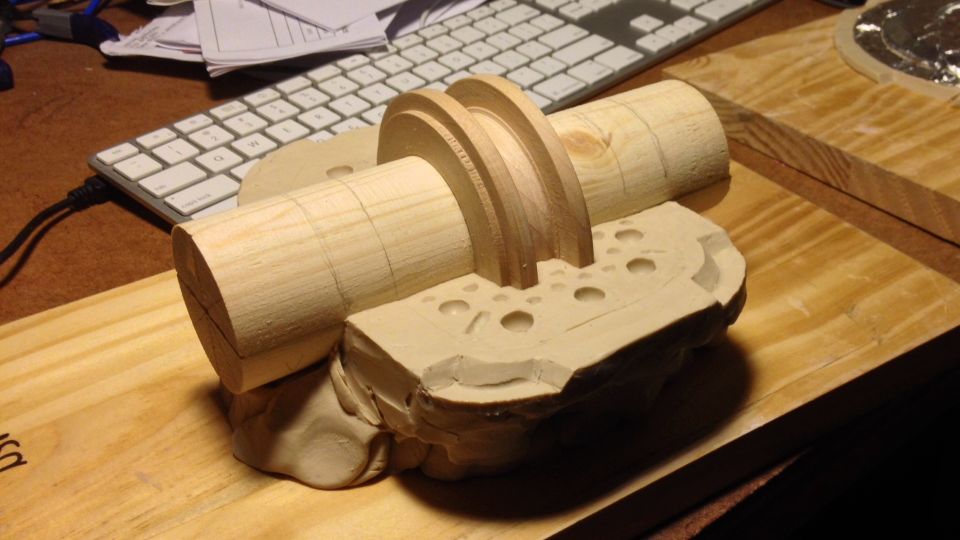
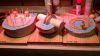
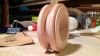
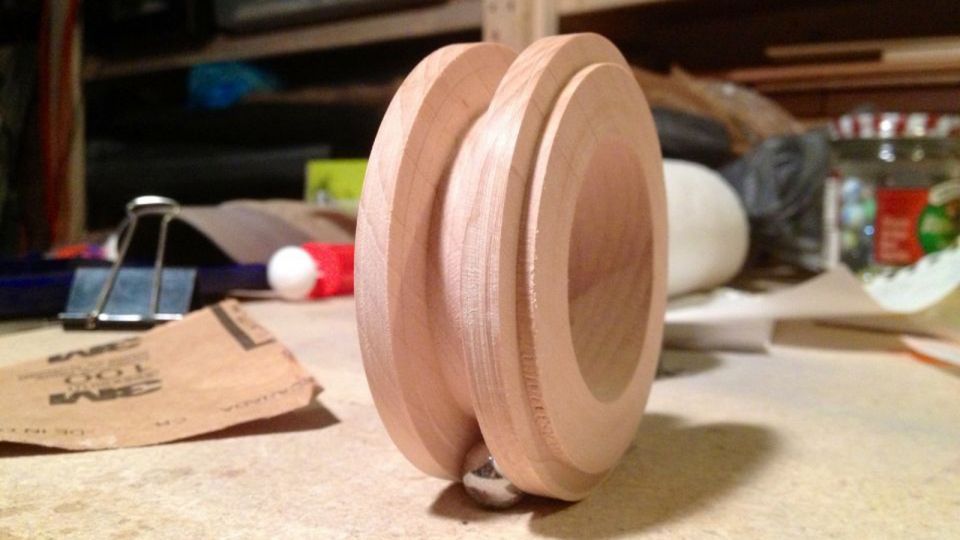
Section 1: Finished Example
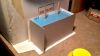
Here is a finished example of what the bearing assembly looks like when it's all completed. Here, the whole idea is to cast multiple pieces to quickly make a bearing when creating an interactive or kinetic sculpture. An axle will have various pulleys or gears and a crank on the side.
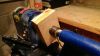
Section 2: Mixing Resin
This clip shows the 50/50 mix of the resin. This resin is simple to work with. It's called smooth cast 325. The funnel is a paper trough with two holes at the bottom, and it helps to fill the mold quickly. I built these supply ports into the silicon negative that. It's challenging to fill with a large cup, so it's easier to use a funnel with a small hole. I used a paper punch to make the holes. The resin comes out slow enough but also quickly enough so that you can fill the mold effectively.
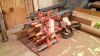
Section 3: Troubleshooting Process
What you have is an ocean or a lake of fluid. So the two pieces end up floating on top instead of having them stick together, and the material starts to leak out the sides, which is not good. The two halves need to be clamped together, which does not come apart when the resin sets up. As you can see, the two pieces come apart, and then the resin is leaking out the sides. The material is looking for the path of least resistance. Since the molds are not clamped together, you end up with a ridiculous flashing line. So these are usable pieces, but this is not ideal. I'll be doing these castings, shoving them into a jig and then filling them and then depressurizing them inside the jig.
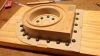
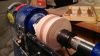
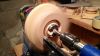
Section 4: Demolding
I am demolding one of the pieces. This mold was rather intricate. It's a mold of the housing part that is mounted directly onto the axle. So I had to make a mold of the negative space of the axle. I also had to make a mold of the parts that house the bearing balls, and so it required a piece on the inside that was thick enough to maintain its shape but not so sick that you couldn't bend it out of the negative space created by the casting. It also couldn't be so thin that it would fall apart and lose shape. It also had to have keys to set the same way every time the mold was assembled. The top and bottom pieces have to be locked into the mold the same way every time.
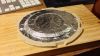
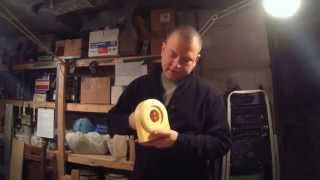
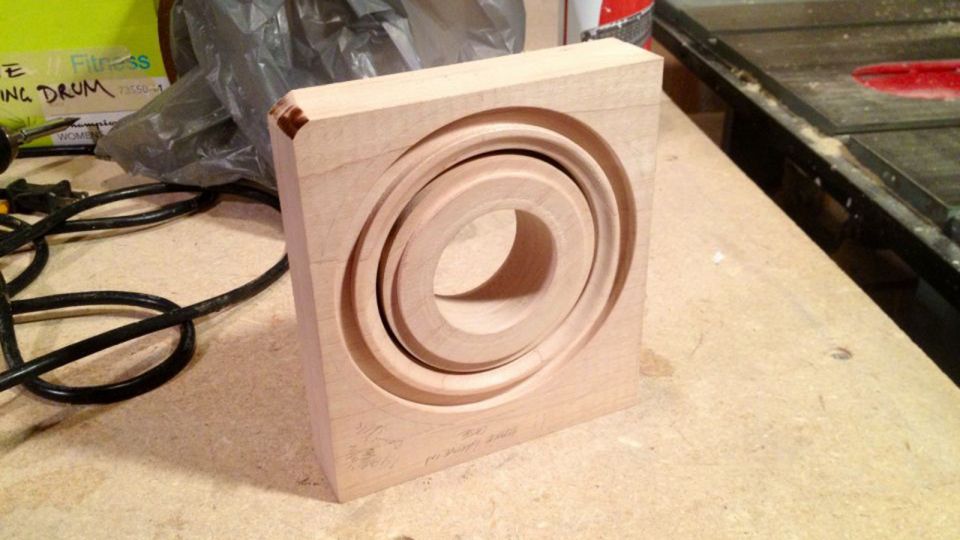
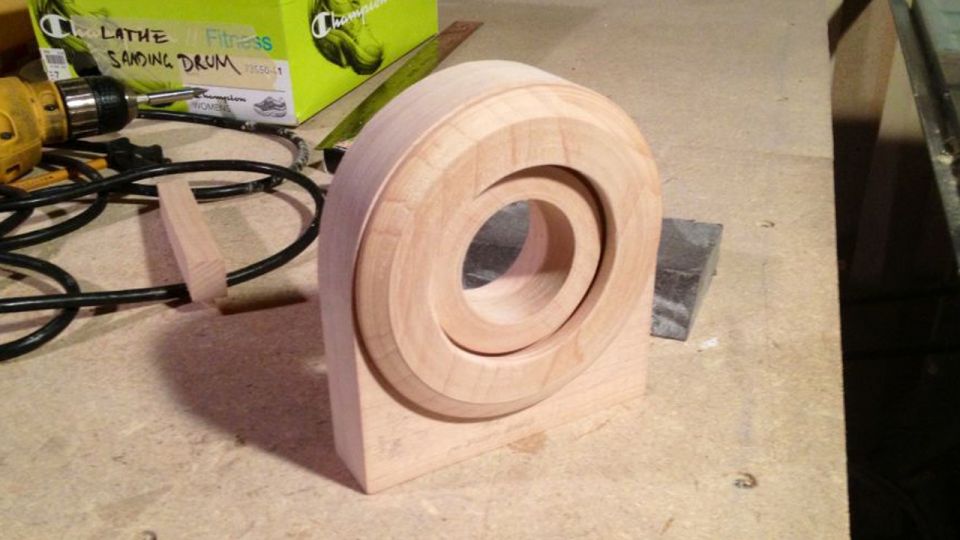
Section 5: End Result
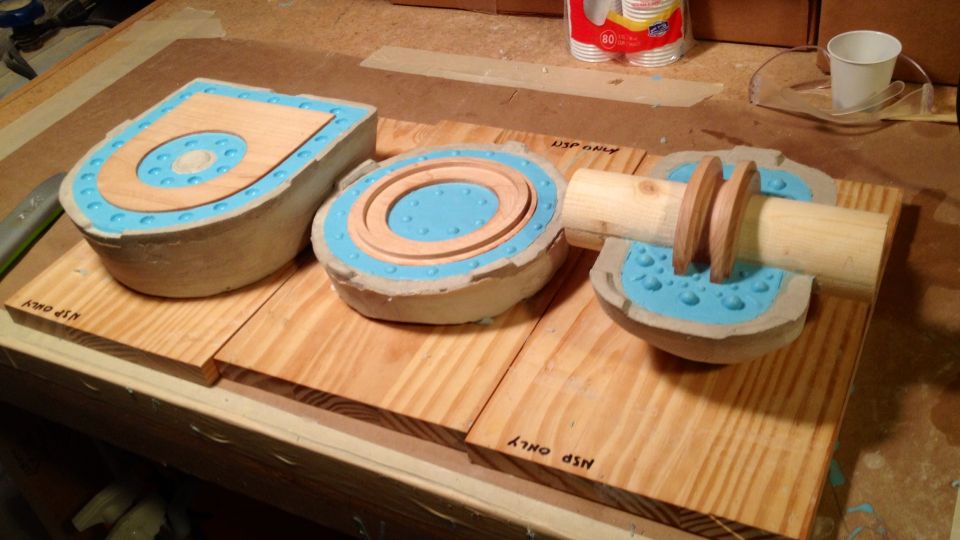
Here is what it looks like when compared with the original wooden pattern.
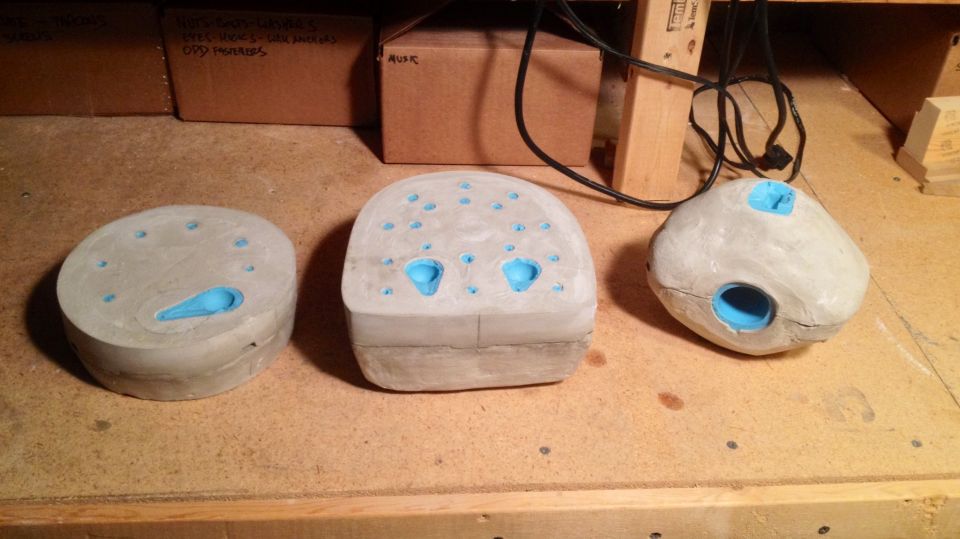
2013.12.30 - some images here show some preliminary steps in the mold making process.
2014.03.02 - In the last image group, the mold to the left had some difficulties with the pattern. I think when I made the mother mold, water from the Ultracal must have seeped into the end grain of the bamboo running gates and then into the pattern, causing it to warp. I attempted to flatten the piece before molding the second half. So, Make sure the end grain is always sealed!
2015.01.24 - Video Added! See how castings are made and finally assembled.
2015.02.07 - I noticed that after doing the video that I was using old urethane resin. An interesting property of the material is that it yellows with age (exposure to UV radiation). Also, when it is setting up, it expands. This property ended up being the reason why molds were loosening at the flashing lines. The newer resin isn't having expansion problems, and newly cast pieces are fitting correctly. They must be left in the molds overnight to prevent distortion of the part.
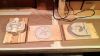
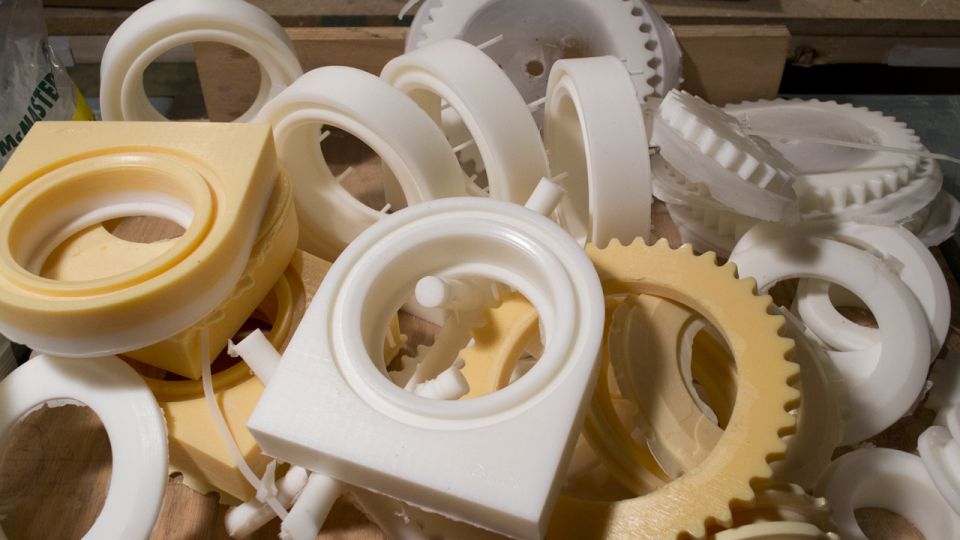
2015.08.14 - Multiple rough castings from molds for a crank and gear system. I realized that the other resin I was using was quite old and was causing the expansion. The new (whiter) castings don't exhibit this problem. The only thing wrong with using old resin is that it's yellowish, and it expands when catalyzing. These will need to be cleaned up before any assembly takes place.
Sculpture incorporating some of these elements: Codorus Creek DetritusPost a question or comment.
Tom Estlack | Subscribe
 -


-
Search - Studio
Categories
Chronology
-
..............................